
1 / 5
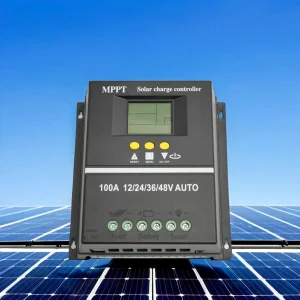
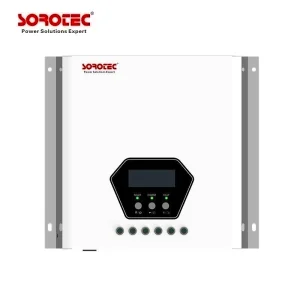
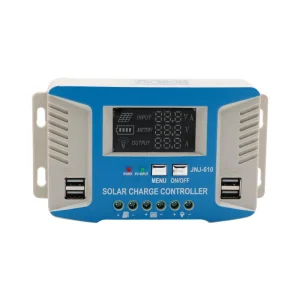
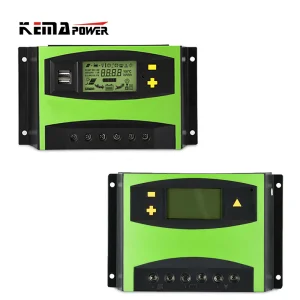
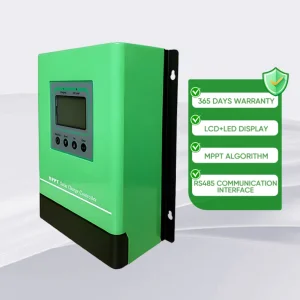
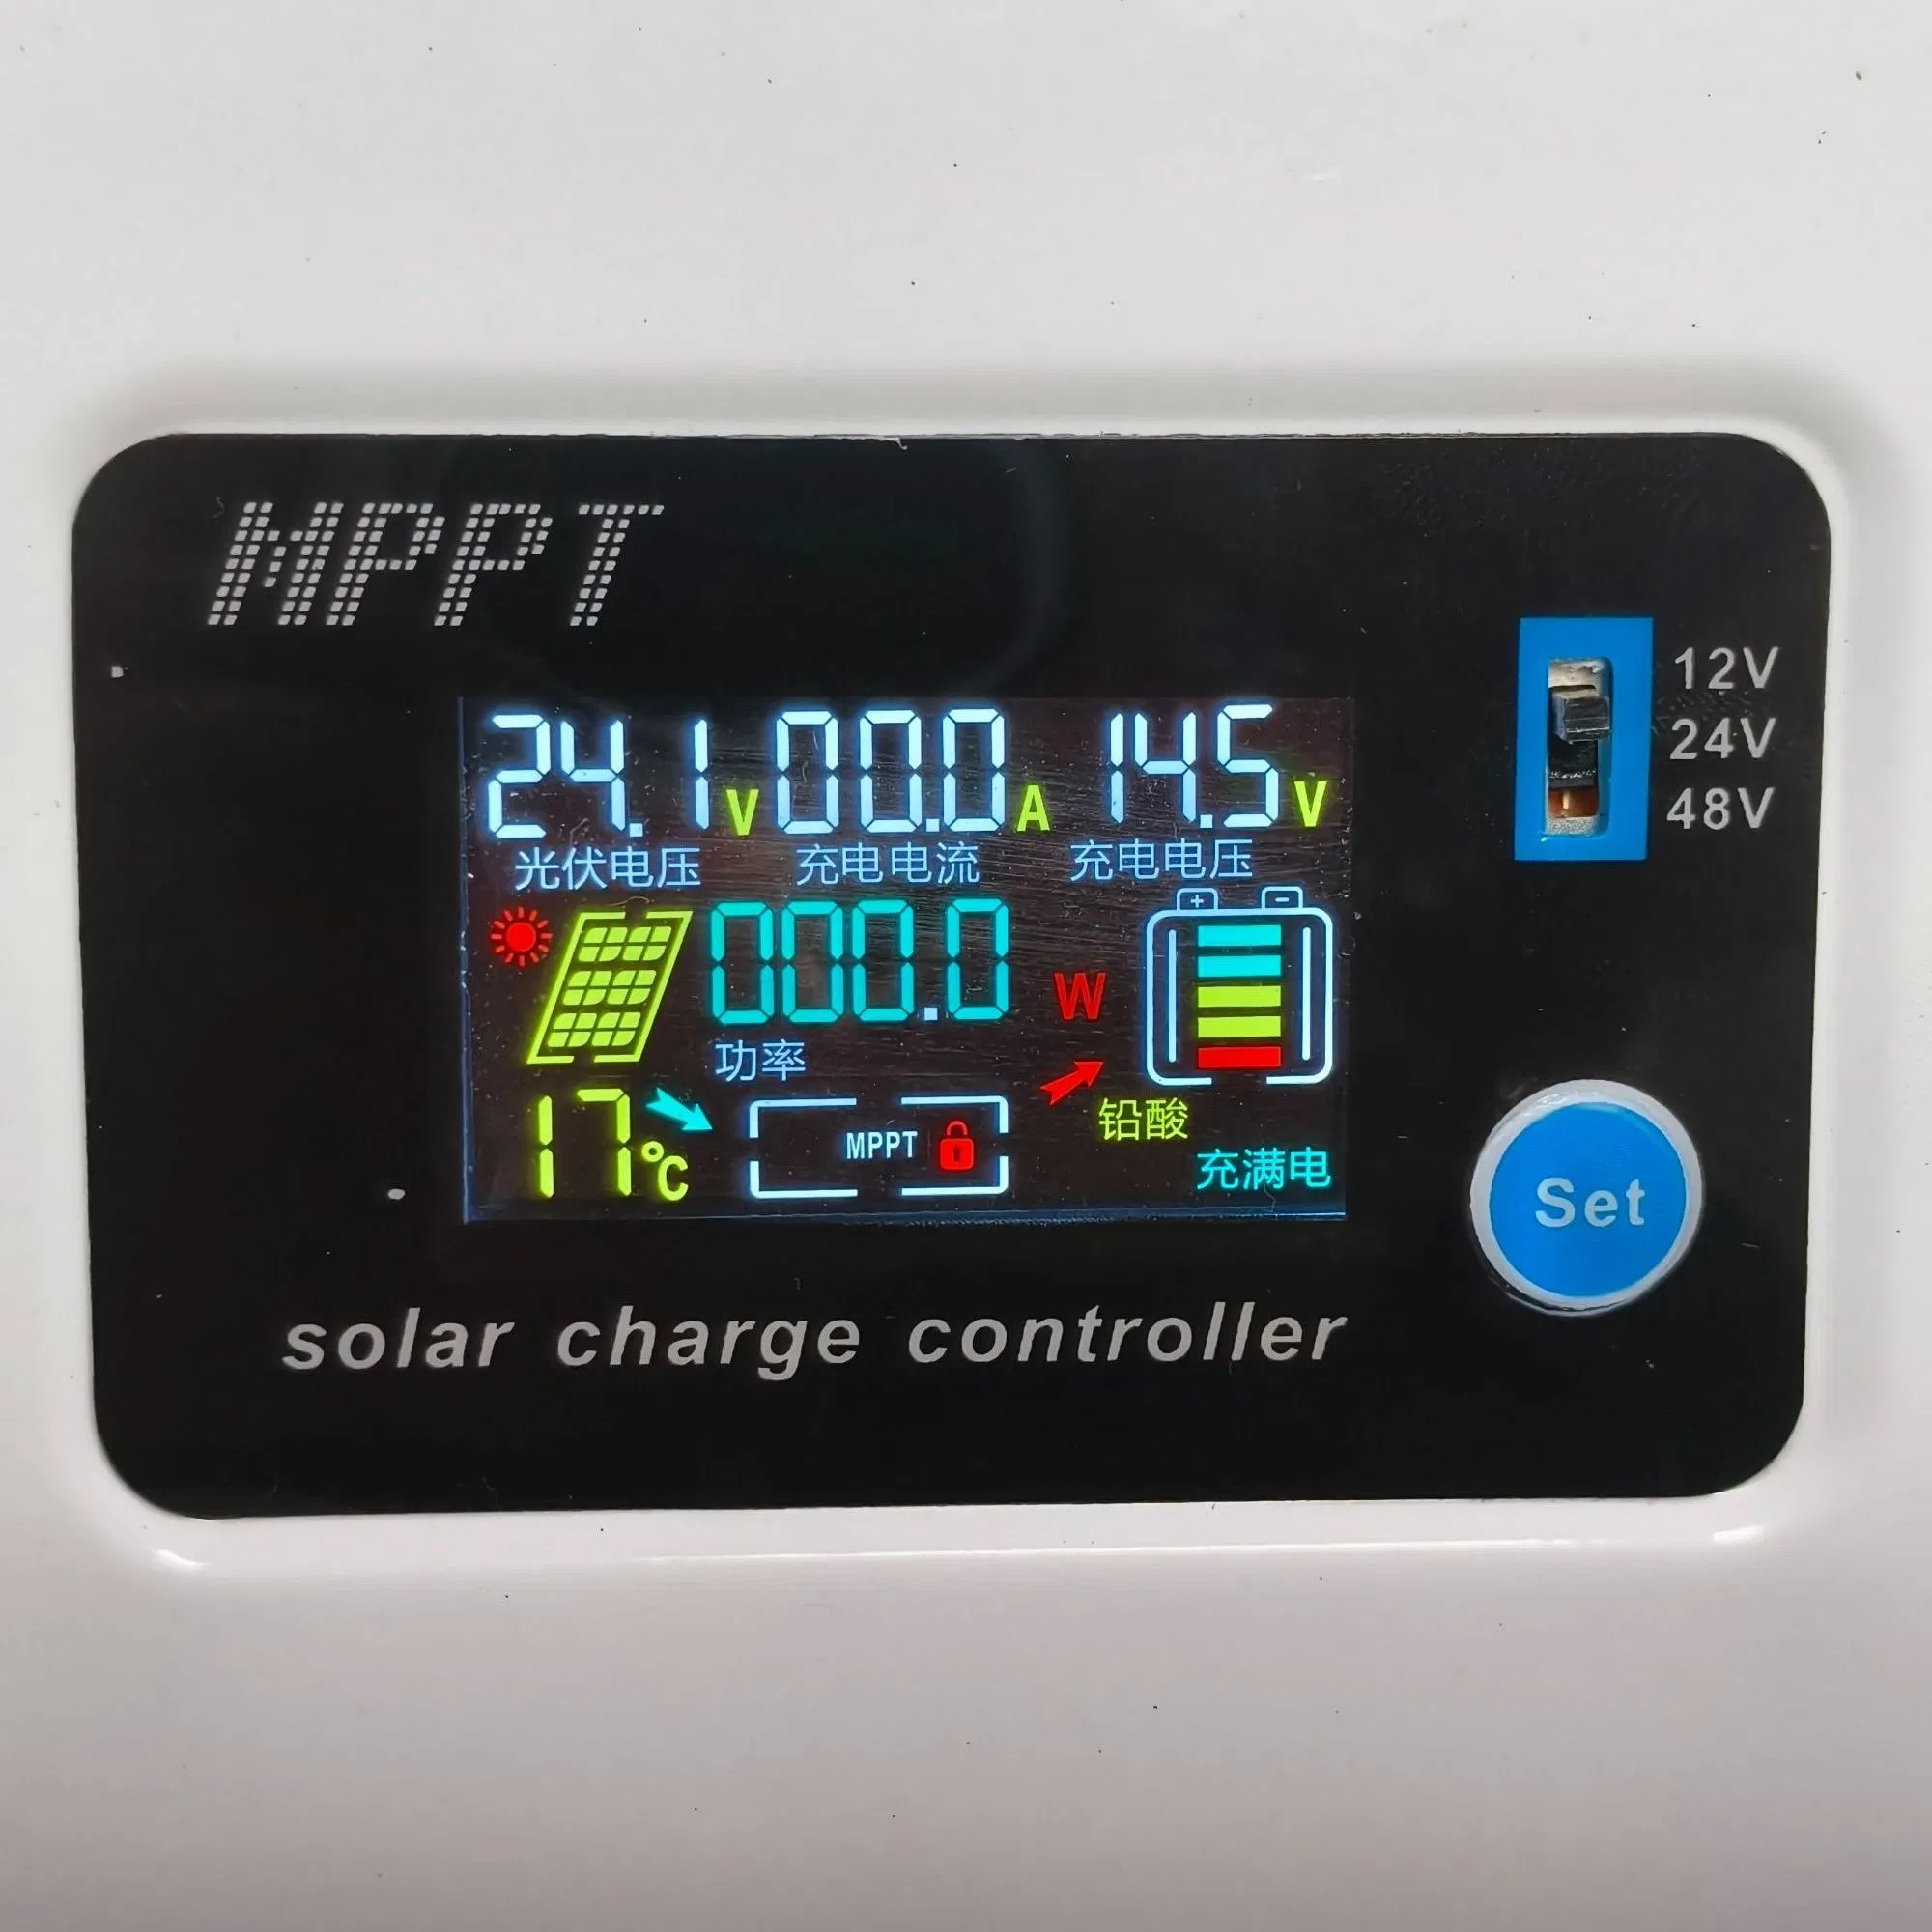
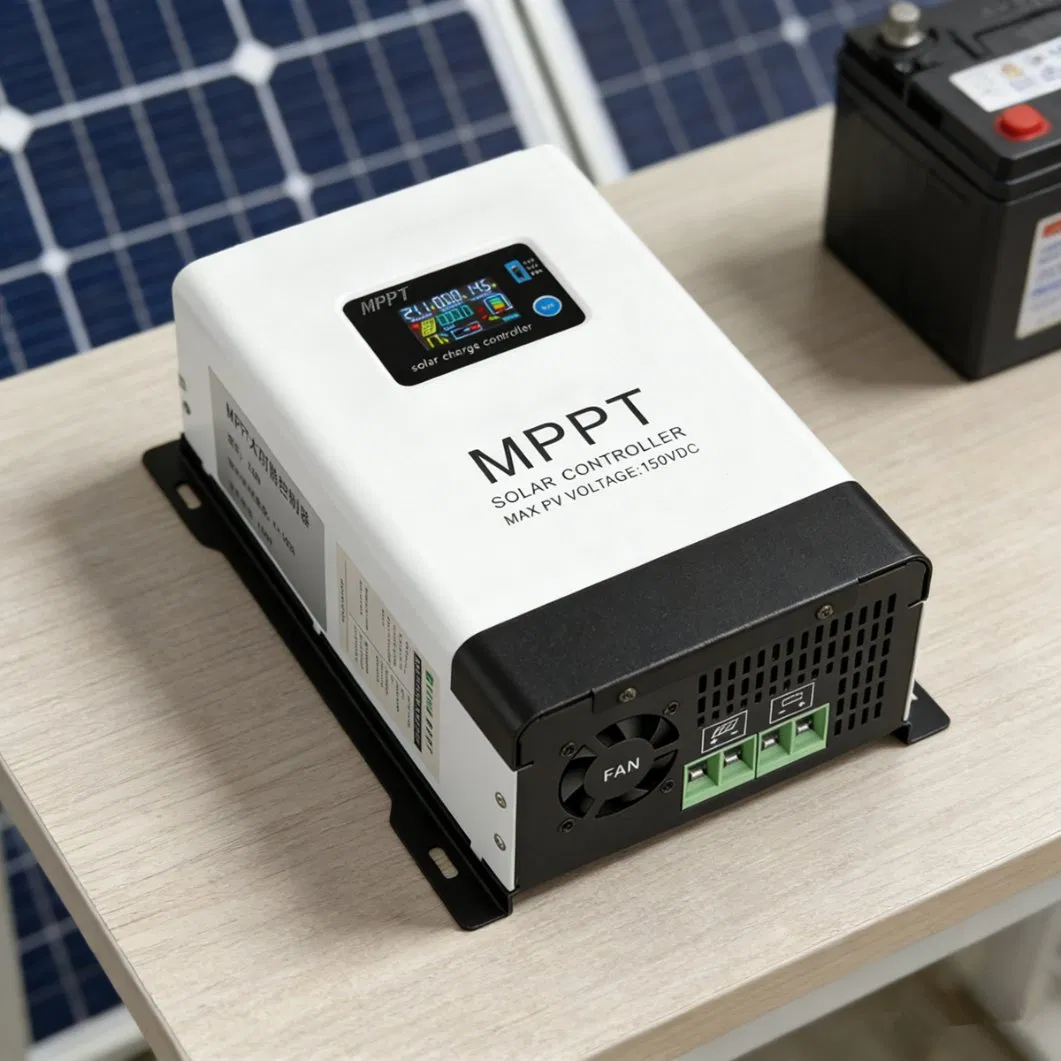
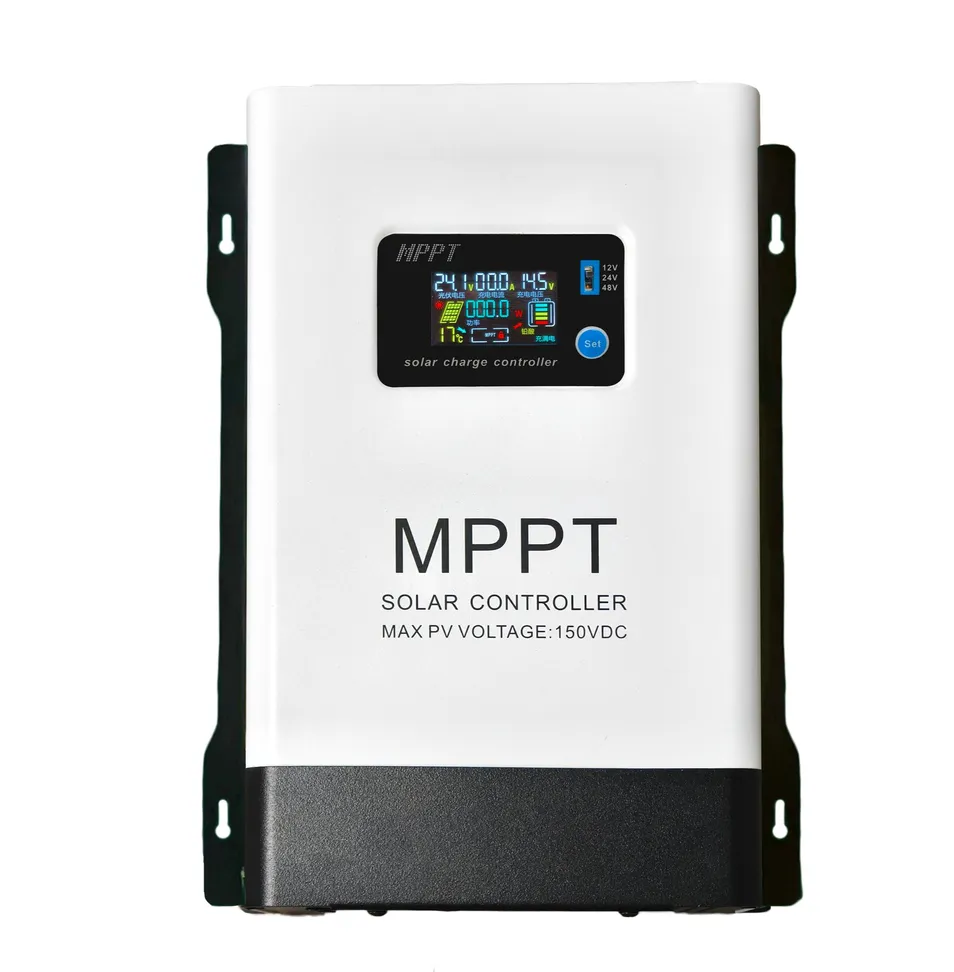
The step-down solar charge controller employs floating-point DSP-MCU as its digital control core, enabling high-precision digital MPPT algorithms to achieve rapid and safe charging of batteries with maximum photovoltaic power generation efficiency.
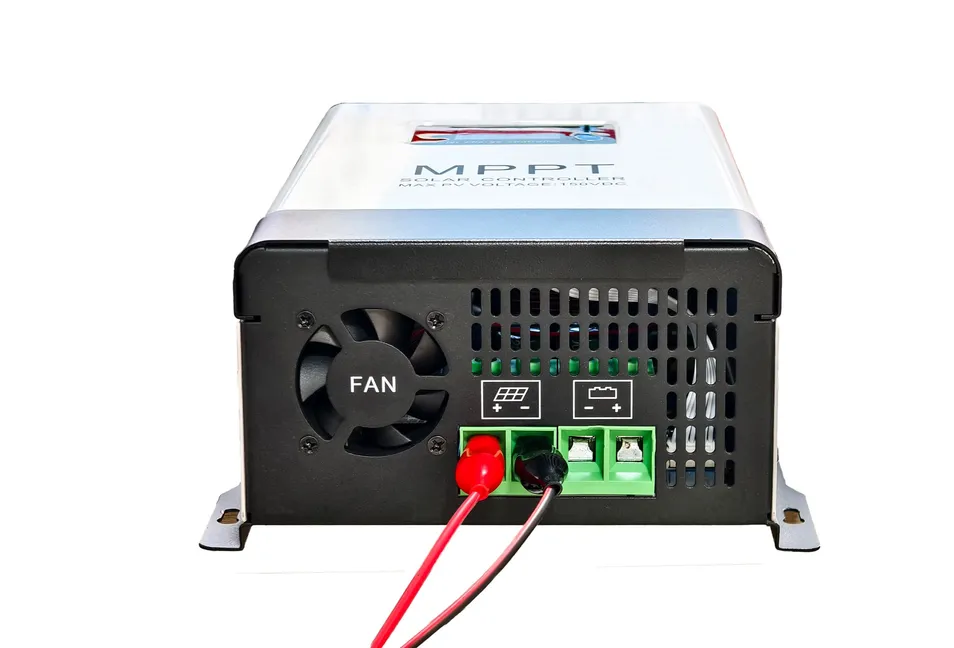
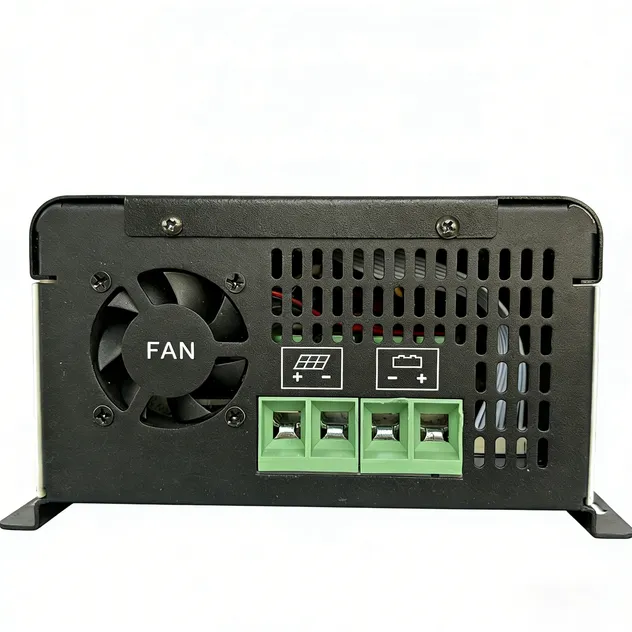
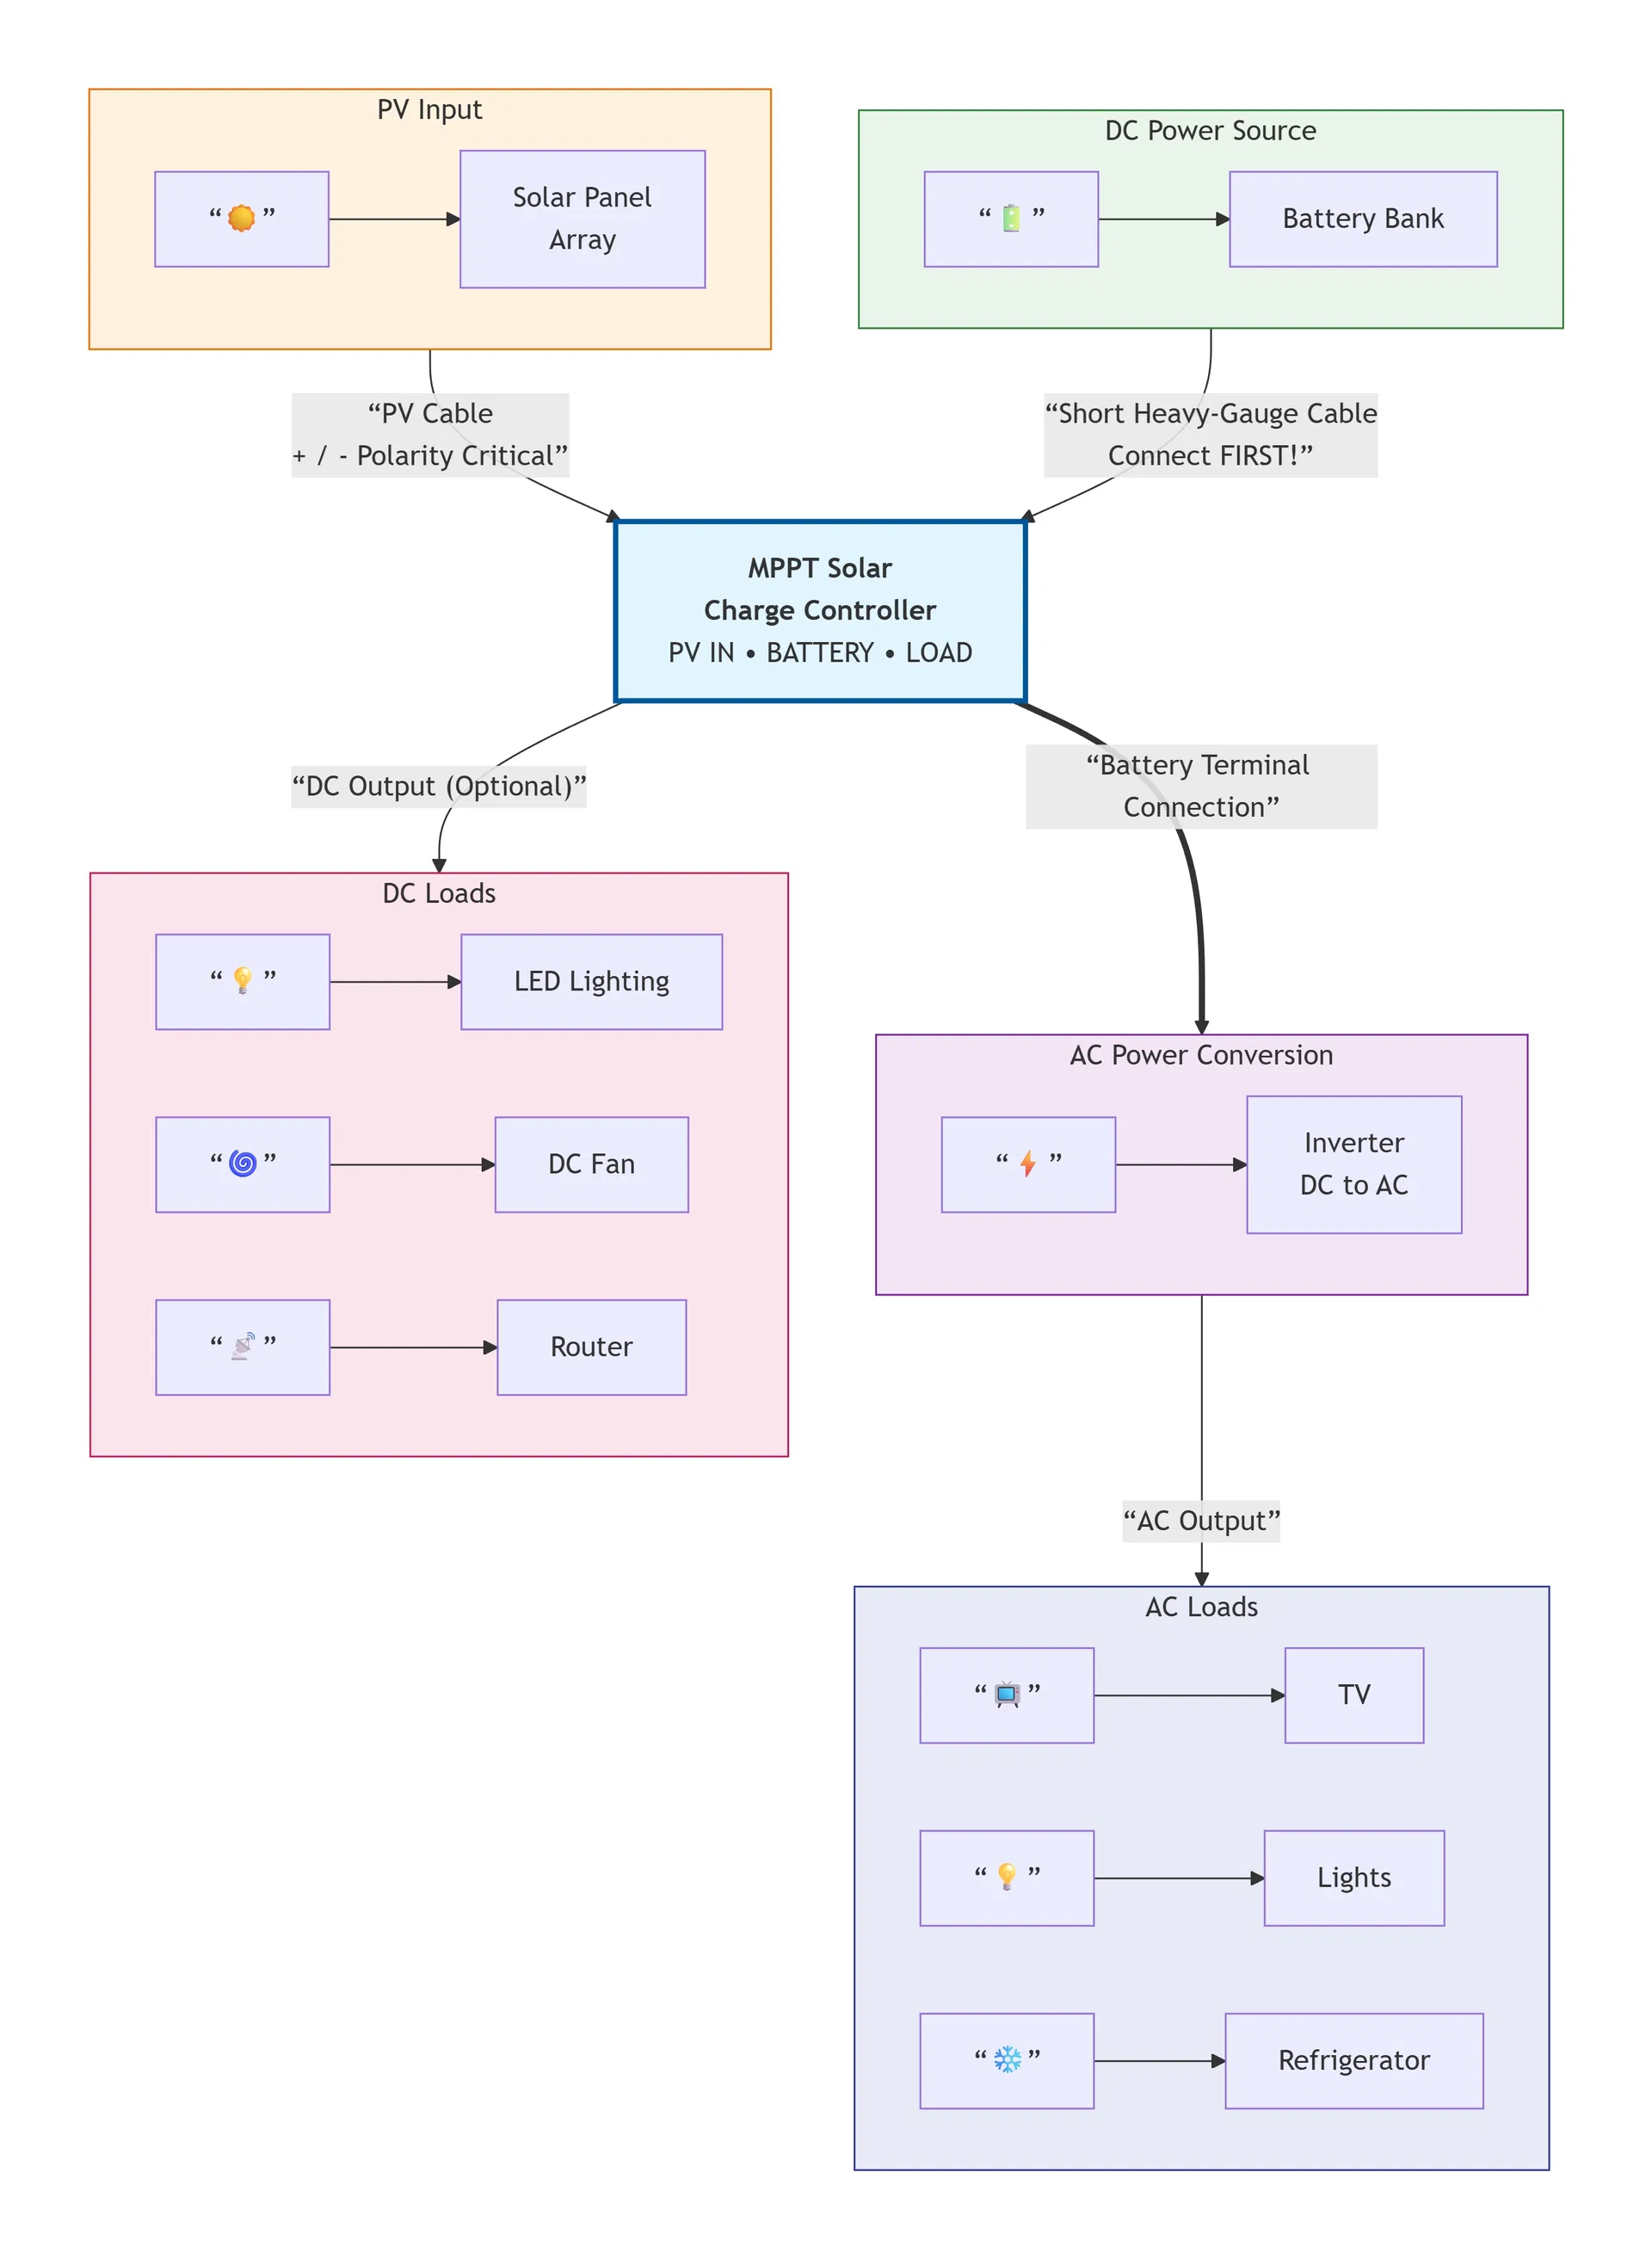
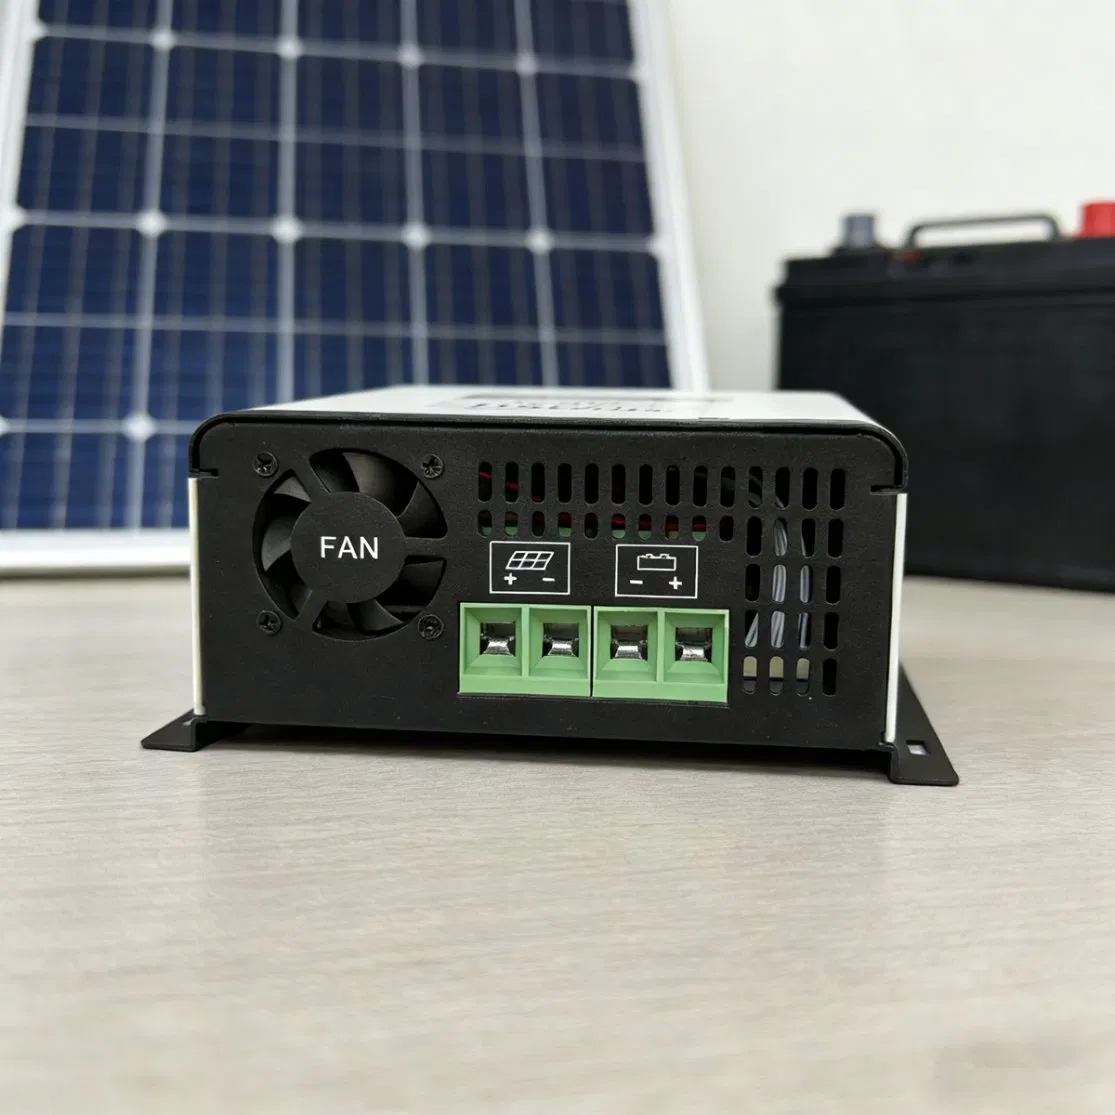
Step 1: Connect Battery Bank FIRST to power internal circuitry.
Step 2: Connect Solar Panel Array (Ensure Voc is below max rating).
Step 3: Connect DC Loads to terminals or AC Loads via Inverter.
| Do's | Don'ts |
|---|---|
| Follow Sequence: Battery → Solar → Load | Never connect solar panels before the battery |
| Use DC breaker or fuse on Battery Positive | Do not use undersized or AC-rated fuses |
| Verify Polarity with a multimeter | Avoid loose terminal connections |

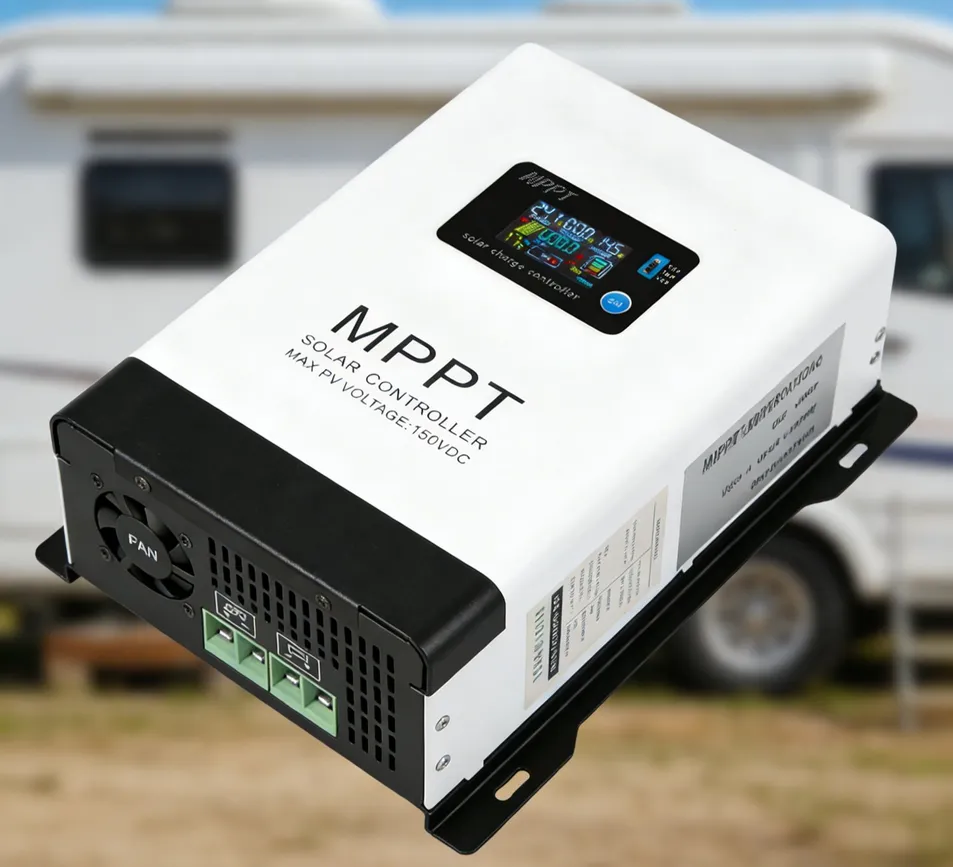
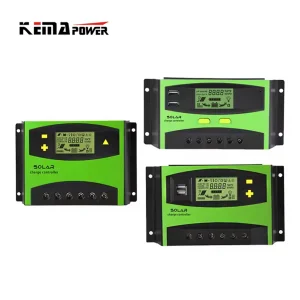
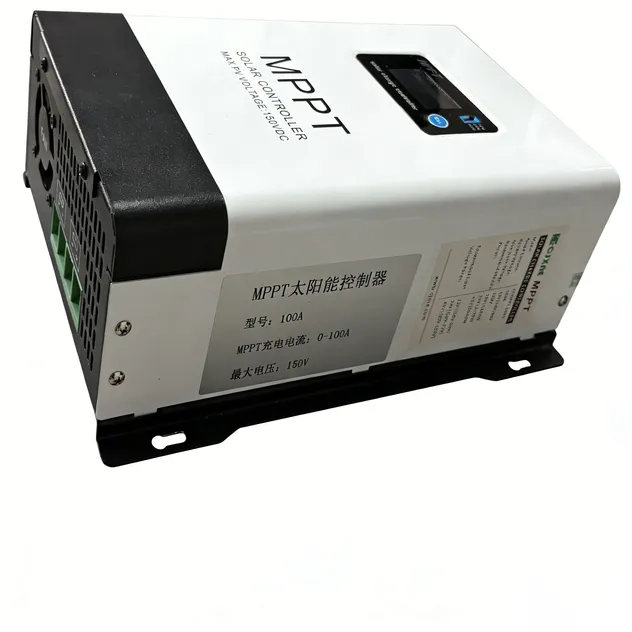
| Model | JXMPPT-60 | JXMPPT-100 | JXMPPT-120 |
|---|---|---|---|
| PV Input Power | 720W-2880W | 1200W-4800W | 1440W-11520W |
| Input Voltage | 18V-150V | 18V-150V | 18V-230V |
| Discharge Current | 60A | 100A | 120A |
| Efficiency | 98% | ||
| Warranty | 2 Years | ||
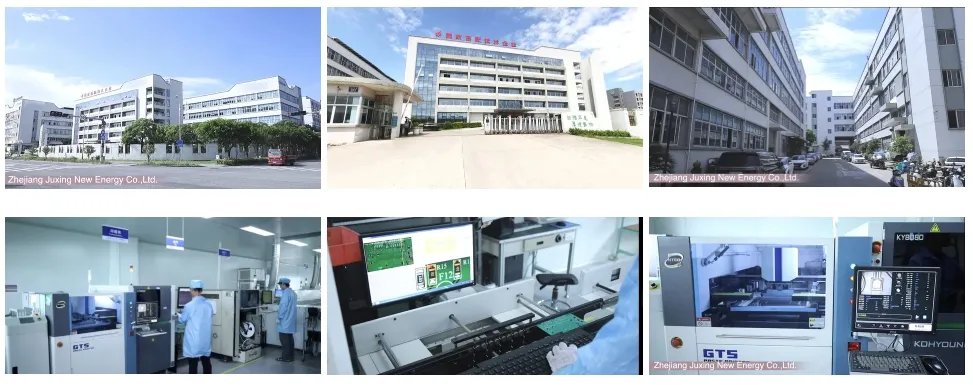
We specialize in designing and manufacturing high-efficiency power inverters and solar charge controllers. Our professional R&D team continues to make technological breakthroughs in portable power stations and power converters to satisfy global customer demands.